Your Global Connection Is One eSIM Away
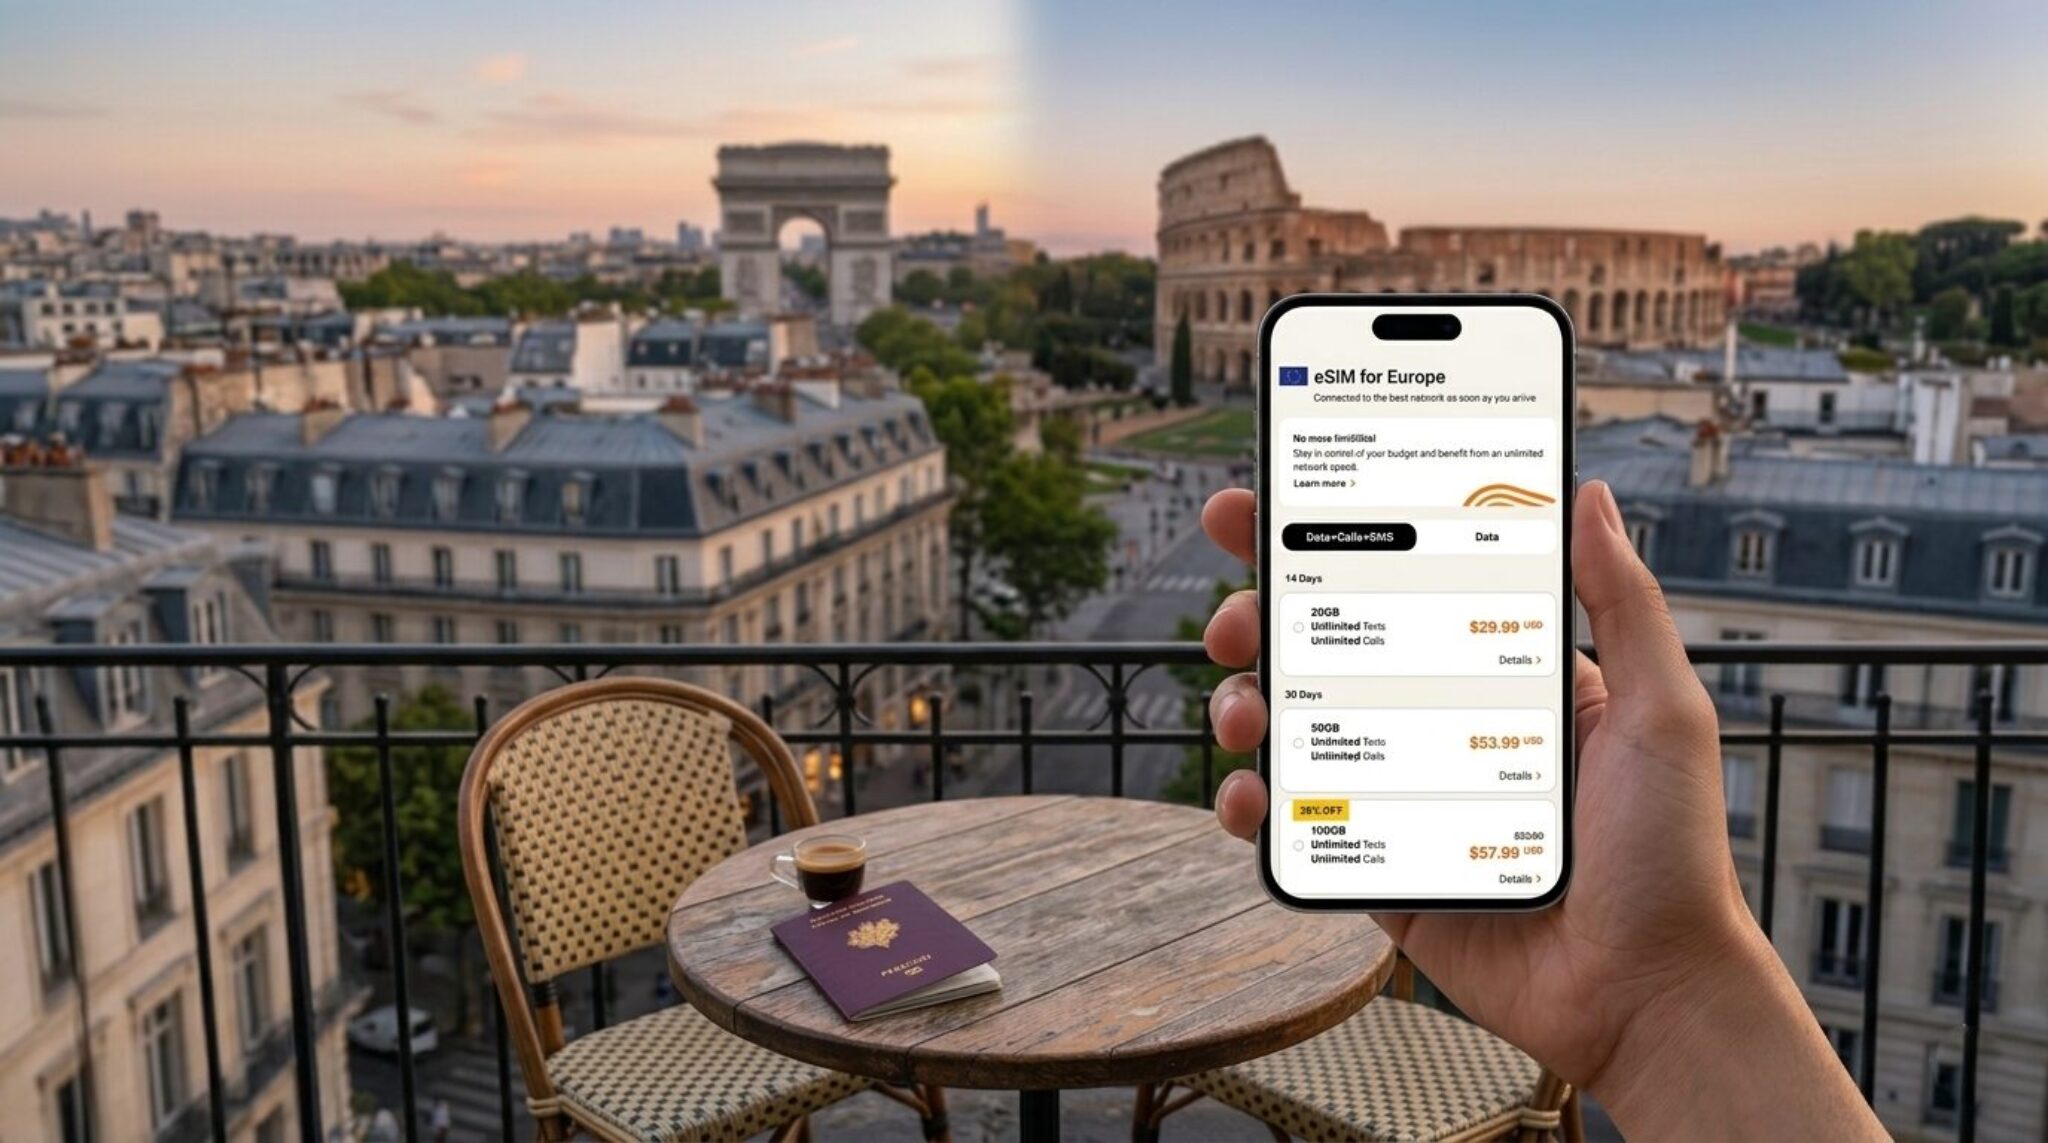
International eSIM is the single most transformative travel tool you’ll ever pack. It replaces fragile plastic SIM cards with a digital profile downloaded directly onto your phone, letting you connect to local networks in 190+ countries the moment you land. There are no physical swaps, no roaming bills, and no hunting for Wi-Fi—just instant, secure data at your fingertips. You activate it with a quick QR scan before departure and manage everything from one simple app.
What Exactly Is an International eSIM and How Does It Work?
An international eSIM is a digital SIM card that lets you connect to cellular networks across multiple countries without swapping physical cards. It works by embedding a reprogrammable chip in your phone that stores one or more network profiles. Before traveling, you purchase a data plan from an international eSIM provider; the provider sends you a QR code or installs the profile directly. Once scanned, your device downloads that profile, which contains a unique subscriber identity and encryption keys. When you land abroad, the eSIM automatically connects to a local partner tower, routing your data through a network based on your plan. You can manage profiles in your phone’s settings, switching between home and travel numbers instantly. Because the eSIM uses local towers, you avoid roaming fees from your original carrier, paying instead a flat rate for a set data allowance. Activation takes minutes, requires no physical store, and consumes minimal battery overhead.
The Simple Tech Behind the Instant Activation
Activation hinges on a secure digital handshake between your device and the carrier’s provisioning server. When you scan a QR code or enter a confirmation code, your phone downloads a small encrypted profile—essentially a virtual SIM card—containing your new number and network credentials. This profile installs into the eSIM chip’s secure element, which isolates it from your primary SIM. The entire exchange takes seconds because the carrier’s server only needs to authenticate your purchase, not physically ship a plastic card. Once installed, the eSIM scans for local partner networks and registers automatically, switching data pathways without manual configuration.
The instant activation comes from pre-provisioned profiles and over-the-air authentication—no physical logistics, just a secure download and immediate network handshake.
How It Differs From a Physical SIM Card
Unlike a physical SIM card, an international eSIM is embedded directly into your device’s hardware, so there is no plastic card to insert, swap, or lose. Instead of physically removing your home SIM when traveling, you digitally add a second profile—meaning your original number remains active for calls and texts while the eSIM handles data. A physical SIM requires you to buy a new card at your destination, find a store, and manually install it; an eSIM is downloaded over Wi-Fi before you depart or upon arrival, activating within minutes. You also avoid the risk of damaging the SIM tray or misplacing a tiny card, and you can store multiple eSIM profiles for different countries, switching between them in your phone’s settings without ever opening the device’s chassis. The key practical difference is that an eSIM eliminates physical handling New Zealand eSIM and instant-store dependence, offering remote, instantaneous provisioning that a physical card cannot match.
An international eSIM replaces the physical card with a downloadable profile, removing the need to insert, swap, or purchase a SIM while traveling.
Which Devices Are Compatible With Global eSIM Plans?
In the chaos of a missed connection at Istanbul Airport, your phone becomes your lifeline—but only if it actually works with an international eSIM. Most modern, unlocked smartphones support this: iPhone XS and newer, Google Pixel 3 and later, plus recent Samsung Galaxy S and Note flagships. Yet compatibility isn’t just about age; your device must be *carrier-unlocked* and have eSIM hardware enabled, which some regional variants lack. Before you buy a global plan, dig into your settings—look for “Add Cellular Plan” or “Mobile Data” options. Budget and older models, like many mid-range Androids, often miss the chip entirely, forcing you back to physical SIMs. The nuance: even high-end phones purchased from certain carriers might lock eSIM functionality, so verify with your provider that the IMEI is eSIM-ready before relying on it abroad.
Checking Your Phone’s eSIM Support Before You Travel
Before purchasing an international eSIM, verify your phone’s compatibility through its settings menu. On iPhone, navigate to Settings > Cellular > Add eSIM; on Android, check Settings > Connections > SIM manager for an “Add eSIM” option. If the menu is absent, your device likely lacks the required hardware. Also confirm the phone is carrier-unlocked, as a locked device may block foreign eSIM profiles. Additionally, check the manufacturer’s official spec sheet for “eSIM” support, since some regional variants differ. Doing this takes two minutes but prevents wasted data plans.
- Run a quick IMEI check on your phone’s dialer (e.g., *#06#) and compare against the manufacturer’s eSIM list.
- Ensure your phone’s operating system is updated, as older versions may not support eSIM activation.
- Look for a physical SIM tray with a small eSIM logo or a dedicated eSIM-only model designation like “A2634.”
Smartwatches, Tablets, and Laptops That Can Use It Too
Beyond phones, smartwatches, tablets, and laptops with eSIM support can activate the same international data plan, though their implementation varies. For wearables, only standalone LTE models—like recent Apple Watches or Samsung Galaxy Watches—allow eSIM profiles, often requiring the same carrier plan as your paired phone or a separate wearable-specific data add-on. Tablets such as the iPad Pro or Surface Pro accept a direct eSIM profile, enabling immediate local connectivity without tethering, but you must verify the device is unlocked for global carriers. Laptops with embedded eSIM, like certain Lenovo ThinkPads or Dell XPS models, typically require manual profile installation via a QR code from your eSIM provider. However, battery life and antenna design affect signal strength on these secondary devices, so always check whether the plan supports data-only usage on non-phone hardware before purchasing.
Smartwatches, tablets, and laptops expand global eSIM utility by independently connecting to local networks, but each requires device-specific support, an unlocked status, and a data-only plan tailored to its hardware.
How to Buy and Install a Global Data Plan in Minutes

To buy and install a global data plan in minutes, first confirm your smartphone is eSIM-compatible and carrier-unlocked. Visit a reputable eSIM provider’s website or app, select a global or regional data package that matches your travel duration, and complete checkout using a credit card or PayPal. Immediately after purchase, you’ll receive a QR code or activation link via email. Scan the QR code using your device’s “Add Cellular Plan” setting under Mobile Data; if prompted, enter the confirmation code. For an international eSIM, label the plan (e.g., “Travel”) and set it as your data line while keeping your home SIM active for calls. Once installed, toggle on data roaming—before boarding—to pre-verify connectivity and avoid airport activation delays.
Step-by-Step Installation: Scanning the QR Code or Using an App
To install your international eSIM, begin by opening the device’s settings and navigating to the cellular or mobile data section, then select “Add eSIM.” The fastest method is **scanning the QR code** provided by your carrier via email or confirmation page; position the code within the camera frame and confirm the prompt. Alternatively, use the carrier’s app to auto-fill the activation details, which is ideal if the QR code fails or you prefer a guided flow. After activation, assign the eSIM to a line for data or default usage.
- Ensure a stable Wi-Fi connection before scanning or using the app.
- Restart your phone if the eSIM does not appear immediately after installation.
- Label the eSIM clearly (e.g., “Travel”) to avoid mixing with your primary line.

Keeping Your Home Number Active While Using a Travel Data Plan
Keeping your home number active while using a travel data plan is straightforward with a dual-SIM setup. Install your international eSIM for data, but leave your physical home SIM enabled for calls and texts. In your phone’s settings, designate the eSIM as the default for cellular data, while keeping your home line for voice and SMS. This prevents roaming data charges while ensuring your home number remains reachable. To avoid unexpected fees, disable data roaming on your home line specifically. **Keeping your home number active** costs nothing if your carrier supports Wi-Fi calling, which routes calls over the eSIM’s data connection. Keep your home SIM enabled for seamless two-factor authentication and incoming calls.

Question: How do I prevent roaming charges while keeping my home number active?
Answer: Turn off data roaming for your physical home SIM in your phone’s settings, then rely solely on the eSIM for internet access.
What Are the Real Benefits of Going Abroad With a Digital SIM?
The real benefit of a digital SIM while abroad isn’t just avoiding roaming fees—it’s the instant, seamless transition from airplane mode to a fully connected local network. You land in Lisbon, scan a QR code from your provider, and within minutes your phone pulls data from a Portuguese tower, letting you call an Uber before you’ve even left the baggage claim. No plastic tray fiddling in a crowded electronics shop, no prepaid top-up confusion, and critically, your home number stays active for banking OTPs or WhatsApp calls. For a traveler hopping between Spain and Morocco in one week, the international eSIM automatically re-registers on each country’s network, so your map, translation app, and hotel check-in never stutter. That continuity—your digital life traveling as fast as you do—transforms a stressful arrival into a simple walk out of the airport.
The real gain isn’t connectivity; it’s the freedom to arrive without a logistics checklist.

Avoiding Roaming Fees Without Hunting for Local SIM Shops
Avoiding roaming fees begins the moment your plane lands, because an international eSIM activates instantly upon arrival, eliminating the frantic search for a local SIM shop. Pre-travel eSIM setup removes the need to navigate foreign retail locations, letting you connect to affordable local networks without wasting vacation time on store queues or verifying passport details. Since eSIM plans are purchased before departure, you lock in a fixed data allowance, ensuring predictable billing and zero surprise charges from your home carrier. Even in remote airports or late-night arrivals, you retain immediate connectivity, a benefit that physical SIM hunting cannot guarantee. You simply toggle the eSIM on, disable your primary line, and pay only the local-rate tariff you selected online.
Keeping One Number for Multiple Countries on a Single Trip
Keeping one number for multiple countries on a single trip transforms cross-border travel into a seamless experience. Instead of juggling physical SIM cards or hunting for local hotspots at every border, your existing number stays active as you cross from one nation to the next. This means your ride-hailing app, banking verification, and two-factor authentication codes continue working without interruption, so you never face a locked account or a missed confirmation. You also sidestep the awkward task of notifying every contact about a temporary foreign number. With a digital SIM, continuous connectivity across borders becomes your quiet advantage—trip changes, unscheduled detours, or spontaneous day trips into a neighboring country never force you to reconfigure your phone or lose touch with home.
How to Choose the Right International Data Package for Your Needs
First, map your trip to a specific eSIM data package by listing the countries you’ll actually visit—a regional plan often beats a global one if you stay within one continent. Check the package’s coverage map for your exact destinations, and then match the data allowance to your habits: streaming and video calls burn through gigabytes fast, while maps and messaging can survive on 1GB per week. Look at validity periods too, because a 30-day plan is useless on a 45-day journey unless you’re ready to top up. Speed matters as much as volume—”unlimited” plans often throttle to 2G after a few GBs, so read the fair-use policy. *A slightly pricier package with true 5G access can save you hours of frustration in busy airports.* Finally, confirm the eSIM supports hotspot tethering if you need laptop connectivity, and double-check installation instructions before you leave home.
Comparing Data Allowances, Coverage Zones, and Validity Periods
When comparing international eSIM plans, first match the data allowance to your actual consumption—streaming or navigation can drain 1–2 GB daily, while messaging uses far less. Next, scrutinize coverage zones: a “global” plan may exclude specific countries or restrict speeds to 3G in certain regions, so verify your destination’s network tier before purchase. Finally, align the validity period with your trip length—a 30-day plan is wasteful for a 5-day layover, while a 7-day option might expire mid-journey. Always calculate cost-per-GB per valid day across three shortlisted packages, as a slightly pricier plan with broader zones and longer validity often beats a cheaper, limited one.
Choosing an eSIM requires balancing data volume, geographic coverage depth, and validity duration against your exact travel itinerary.
Pay-As-You-Go vs. Pre-Paid Plans: Which Suits Your Travel Style?
Choosing between pay-as-you-go eSIM flexibility and pre-paid data buckets hinges entirely on your itinerary’s predictability. If you hop between countries with sporadic connectivity needs, pay-as-you-go lets you top up only when you actually run out, avoiding wasted credit on idle days. Conversely, pre-paid plans suit travelers with fixed durations, a known data appetite, and no tolerance for mid-trip management. For a clear decision, follow this sequence:
- Estimate your daily data burn from past trips.
- Count your total travel days, including layovers.
- If your estimate fluctuates wildly, choose pay-as-you-go; if it’s stable, lock in pre-paid to lock the rate.
This logic ensures you never overpay for unused megabytes or scramble for a top-up during a critical navigation moment.
Common Problems and Troubleshooting Tips for Travel eSIMs
Travel eSIMs often fail to activate because the profile is installed before arrival; instead, install it only when you land, ensuring your device is unlocked and carrier settings are updated. If data doesn’t connect, manually select the local network in your phone’s settings rather than relying on automatic roaming. APN settings are the most common silent culprit—verify they match your eSIM provider’s exact string, which you can usually find in your activation email. For intermittent drops, toggle airplane mode for 30 seconds to force a fresh tower handshake. If you see “No Service,” check that your physical SIM isn’t overriding the eSIM slot, especially on dual-SIM phones—disable the primary line temporarily. Battery drain spikes are normal during aggressive reconnection attempts; turn off background data for non-essential apps. Curiously, rebooting your phone after every roaming zone crossing saves more time than troubleshooting a half-dead signal. Finally, always download your provider’s offline diagnostic tool before departure to inspect live network logs.
What to Do If Activation Fails or Data Stops Working
If your travel eSIM won’t activate, first double-check that you’re connected to Wi-Fi and that the QR code or manual entry matches your device’s IMEI—then restart your phone. For data that stops working mid-trip, toggle airplane mode for 30 seconds, then manually select your carrier network in settings. Still stuck? Try deleting and reinstalling the eSIM profile, or switch the APN to “globaldata” as your provider suggests. Contact support with your order number, but most issues resolve within minutes.
Why does my data stop working after switching countries? Your eSIM may need a manual network refresh—go to cellular settings and pick a local network, or re-download the profile if the region’s tower bands changed. A quick reboot usually fixes handoff glitches.
Managing Multiple eSIM Profiles and Switching Between Them
When traveling, juggling a home eSIM and a destination travel eSIM often leads to confusion if you do not label them clearly. Most smartphones allow you to assign distinct names and colors to each profile, preventing accidental data usage on the wrong line. Switching between active eSIM profiles is done through your device’s cellular settings, where you can toggle specific lines on or off—ensure only the travel profile is active for data to avoid roaming charges. A common pitfall is forgetting to set the travel eSIM as the default for cellular data after landing; verify this immediately. Also, disable automatic network selection on your home profile to avoid it reconnecting unexpectedly. Q: Why can’t I switch between my eSIM profiles while overseas? A: This usually occurs because your device restricts eSIM changes on a non-primary line; however, you can typically fix it by toggling airplane mode, or by temporarily making the travel eSIM your primary line in settings—unlike a physical SIM, no removal is needed.